
Our learning trail started at a spot in the yard the students knew well: our newly planted maple tree. “Meet me at the baby tree.” As soon as we were out the back door of the school, those were the only instructions.
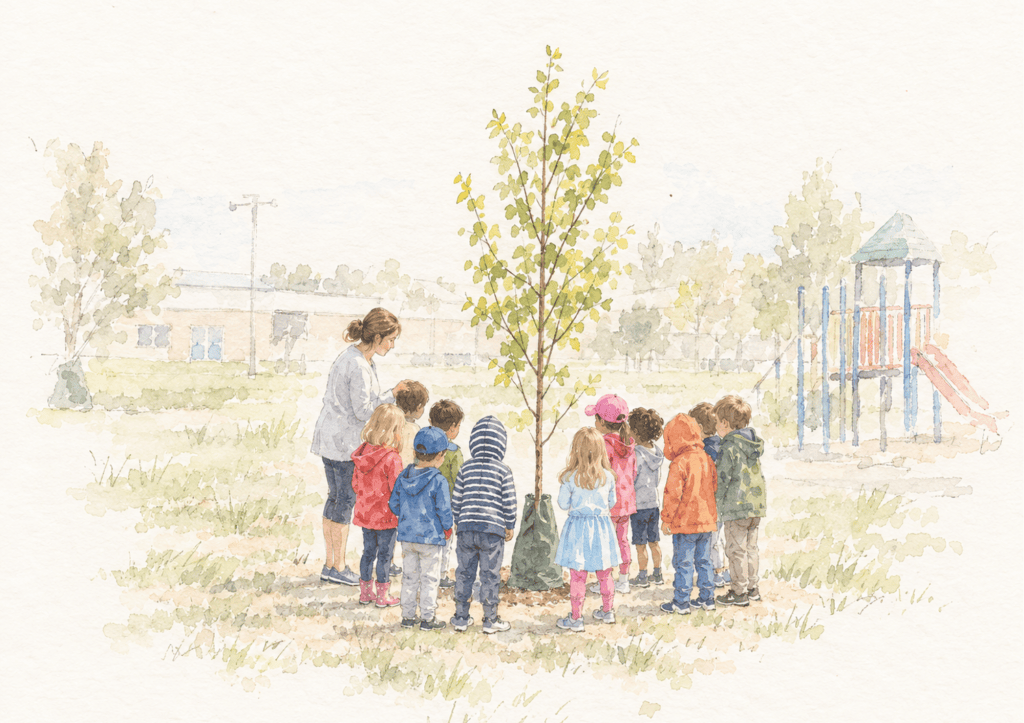
This was my teaching partner’s favourite tree on our grounds, planted the spring before by the city forestry department. It was tiny, and they had placed it right beside the play structure, in a high-traffic zone. It would need some luck to survive the school year. When I said, “Meet me there,” twenty-some students walked to the right spot without another word. That tree became the first stop on learning trails for years.
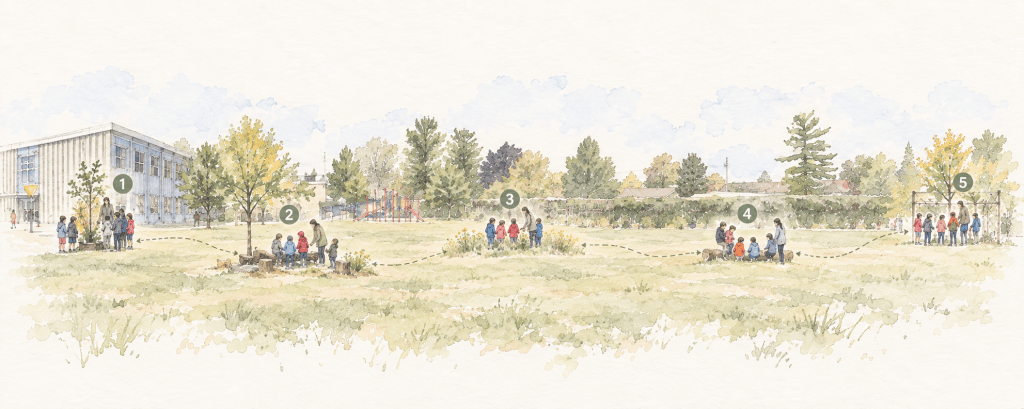
Our learning trail was a set of five to ten fixed stops on our school grounds that my class returned to throughout the year. The stops stayed the same. What we explored at each one changed with the season, the subject, and what my students were curious about. It turns out we did not need a forest, a big budget, or anything costly to build, like an outdoor classroom. Everything we needed was already there. Even better, the students helped pick the spots (they knew the schoolyard better than I did) and then named them.
What a learning trail actually is
Once we had established our stops, we were ready for our first official learning trail: a guided one, the kind I call a Look & Notice trail. The learning goal was identifying the natural and built features of our own schoolyard, an expectation in the Ontario Curriculum for Grade One Social Studies. We walked from the baby tree to the Hole in the Fence and on to the Gully, in the same order every time.
At each stop I asked the same question: “What here did people make, and what here grew on its own?” Students answered out loud. When we were done, I invited students to draw or write what they noticed. Back inside, the list became a sorting chart on the wall, natural features on one side and built features on the other, something we could add to and refer to throughout the unit.
This first learning trail started with Social Studies because that was on my long-range plans for that week. But I have explored concepts in math, science, language, the arts, and physical literacy on a guided learning trail, looking and noticing as we walked the yard.
Because the stops stay fixed, the task can change with the subject. One week we were measuring the different trees on our trail, and the question at every stop was how many hands go around the trunk. Another week we were exploring the elements of design in visual arts, investigating the texture of their bark.
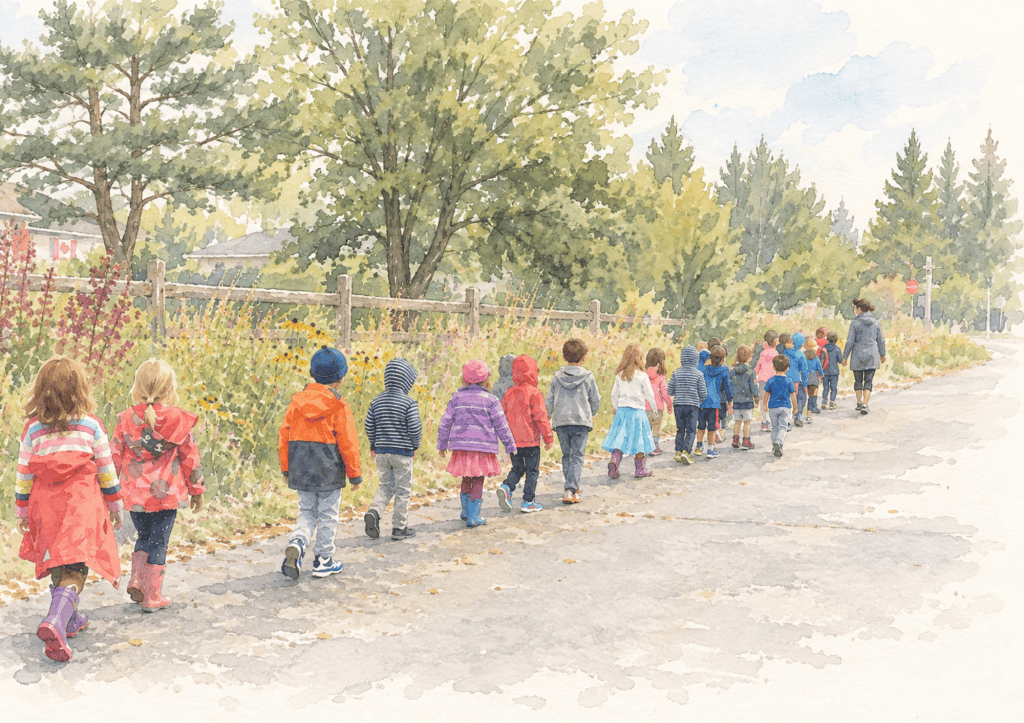
Repetition makes a walk a learning trail. After about the third walk, the students know the stops and are practised at noticing what they see. By then the stops are theirs: they check on the baby tree before I ask, and they argue about what was in the puddle last time. This is place-based learning, and it is why the learning stays with them. They are learning about a place they have come to care about.
When your class stands in the same spot in September, November, and March, they compare what they see with what was there last time, and they come to care about the plants and animals that live there. Our baby tree was planted beside the play structure, in the worst spot in the yard, and I did not expect it to last the year. More than ten years later, it is a grown tree! I think it made it because several classes of six-year-olds cared for it and kept a watchful eye on it.
Are there different kinds of learning trails?
There are three kinds of learning trails. They build in complexity as a class grows more comfortable learning outside.
On a Guided Learning Trail, Look & Notice, you set the stops and walk them in order, steering what students notice toward the day’s goal. This is where every class starts, and it is mostly teacher-led.
On a Self-Guided Trail, Explore & Discover, students work the stops on their own with a map or a list, looking for something in particular, like how many shapes they can find.
On an Inquiry Trail, Question & Investigate, students choose the stops and the question. You let go of the structure, but not the learning goal, as you and your class build confidence going outside.
Start with a guided trail if you are new to outdoor learning or nervous about it.
How much does it cost to build a learning trail?
Nothing. A learning trail needs no equipment, budget, or forest. What it needs is landmarks, and every school ground has landmarks, even the ones that are mostly asphalt. Every yard has something living to observe, too, even if it is a hole in the concrete where ants live.
One thing worth doing early: invite the students to name the stops. Our students came up with very descriptive names: Rainbow Trees, the Mud Factory, the Sliding Hill, and the Hidden Garden. When students name a stop, it means they have started paying attention to it, and it will become one of their special places on the yard.
Field Note
What is inside a bare branch
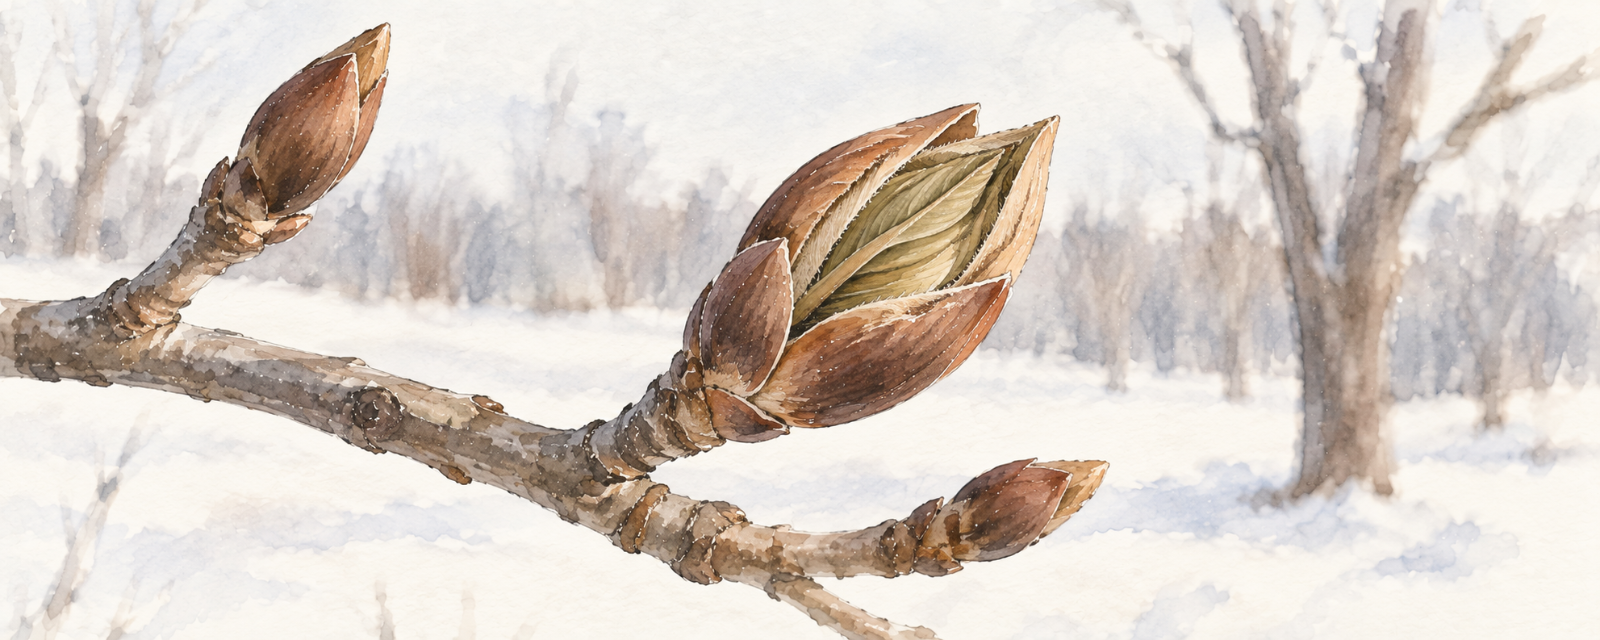
Stand at your bare tree in November, and it looks finished for the year. It is not. Before the leaves even dropped last autumn, that tree finished forming next spring’s buds. You can really see them on a bluebird day in February.
Inside the bud, next spring’s leaves are already there, folded tight and waiting out the cold, and on many trees, the maples included, next spring’s flowers too. Point one out on the walk back inside, and your students will never look at a bare branch the same way.
Sources: LEAF, Toronto · Royal Botanical Gardens, Burlington, “Spring Bud Break”
A learning trail is worth the break from the classroom when you give students something to do at each stop. Walk the same five stops with nothing for students to do with their eyes, ears, or hands, and it is just a walk. So take whatever you were going to teach inside, like seasonal changes or a movement skill in gym, and explore the concept outside at the stops.
The Guided Learning Trails pack is a year’s worth of this: the stops, a question for each stop in each season, the student pages, and the assessment tools I use. It arrives this fall; subscribe on the Free page and I will let you know.
Try this first
You do not need to set up the whole learning trail to start. Start with one spot. Pick one landmark in your yard that the whole class can find without you, walk them there, and ask one question that gets their eyes or ears working, like, “How many colours can you see from here?” It takes about ten minutes from start to finish and requires no equipment. Record their answers and their questions. Go back to the same spot the following week with a different question. Add a second stop when the first one is easy.
The free Listening Walk learning activity guide is a good first learning trail. The places where you stop with your class to listen become your first stops. Get the free Listening Walk learning activity guide. For more routines like this, see What Is a Sit Spot?, and for where trails fit the bigger picture, Outdoor Learning on a Schoolyard: The Big Idea.
Questions teachers ask
What is a learning trail?
A set of five to ten fixed stops on your own school grounds that your class returns to all year. The stops stay the same; what you do at each one changes with the season and the subject. It costs nothing and needs no forest.
Do I need special equipment or a natural space?
No. A learning trail needs a few landmarks: a tree, a fence corner, a pavement crack. Ordinary, even less-than-inspiring school grounds work fine, because the value is in coming back to the same spots.
What is the difference between guided, self-guided, and inquiry trails?
The difference is who is leading the learning. On a guided trail, you set the stops and lead the noticing. On a self-guided trail, students work the stops themselves. On an inquiry trail, students are leading the learning. Start with a guided trail.
How many stops should a trail have?
Once you have been outside with your class, you will have a better sense of how many stops to make; anywhere from five to ten works. Fewer than five and it is over before attention settles. More than ten and you will not finish inside a school block. One good stop is a real beginning.
Does it work in winter?
Winter is the trail’s best season. With fixed stops, seasonal change is plain to see: the same tree bare and the same puddle frozen. And did I mention what a great time of year it is to see animal tracks?


Leave a comment